Introduction
Paper cups look simple. But if you’ve ever sourced them for a business, you already know the chaos hiding behind that innocent round shape.
Customers ask me all the time, “Why does one supplier’s cup leak while another’s survives boiling soup?” Poor materials, uneven coating, bad forming — all can ruin a batch. And don’t get me started on delayed shipments. That’s why I decided to write this. I want to show you exactly how we make a proper cup from start to finish.
The short answer? A good paper cup is born from good paper, clean coating, sharp printing, and a forming machine that behaves. We pick the right base paper, add PE or PLA lining, print your design, die-cut each piece, form the cup body, seal the bottom, test for leaks, then pack everything tightly and ship. The steps sound simple, but the magic is in the control.
Step-by-Step: How We Really Make a Paper Cup
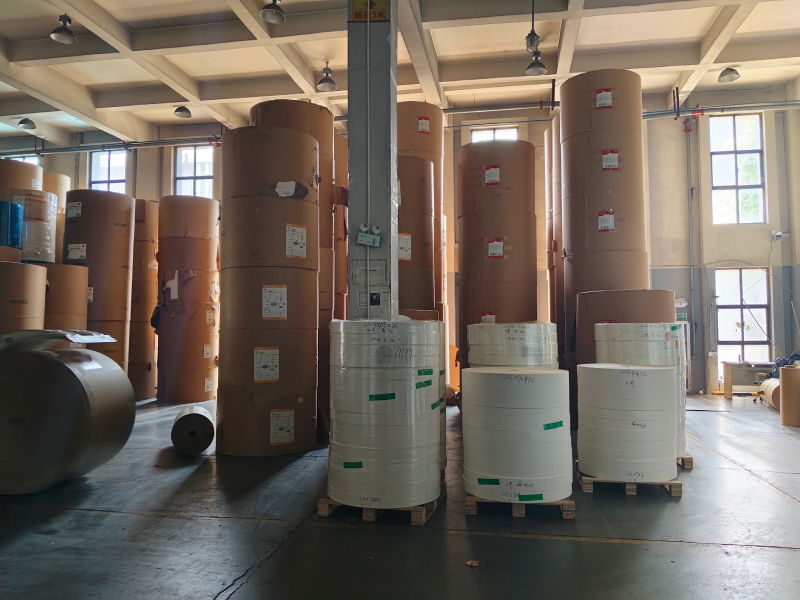
Raw Paper Selection
Everything starts with raw paper. We use food-grade virgin paper from trusted mills. (If someone tells you “mixed recycled paper is fine,” run!) Thickness matters. Stiffness matters. Even the smell matters. Pick the wrong stock and the cup collapses like a sad pancake.
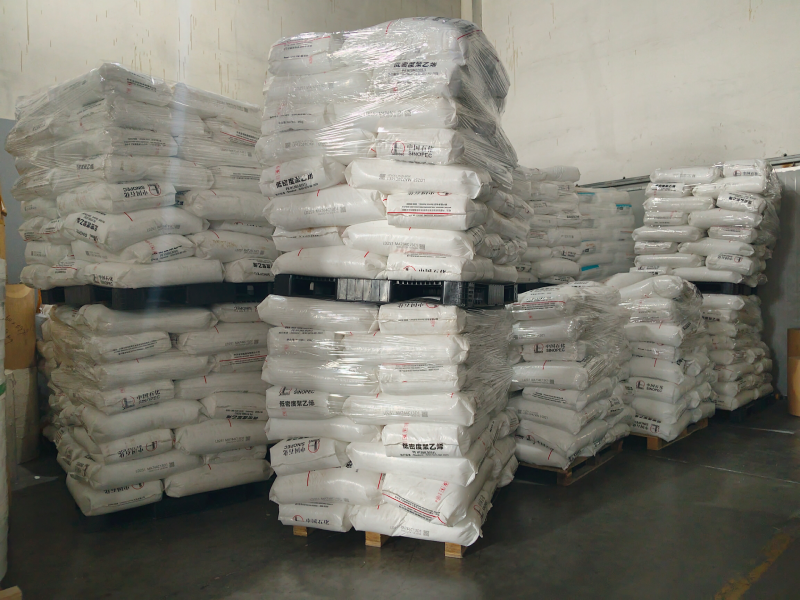
Lining: PE or PLA
Paper alone can’t hold liquid. So we laminate it with PE or PLA. PE is the classic option. PLA is plant-based and compostable — trendier, pricier, and perfect for brands going eco-friendly. The coating must be smooth and even. Any tiny gap becomes a tiny leak, and tiny leaks make angry customers.
Printing & Design
Next comes printing. We use flexo printing with food-grade ink. Want your pattern sharp and vibrant? Great. But please don’t send me a blurry JPEG and call it “final artwork.” Colors, bleed, resolution — they all matter. Your brand deserves crisp lines, not fuzzy coffee beans.
Die-Cutting
Once printed, the sheet goes into a die-cutting machine. Think of it as a giant cookie cutter. It slices perfect cup “fan shapes.” A good die equals smooth edges. A bad die equals rough edges that cause cracks during forming.
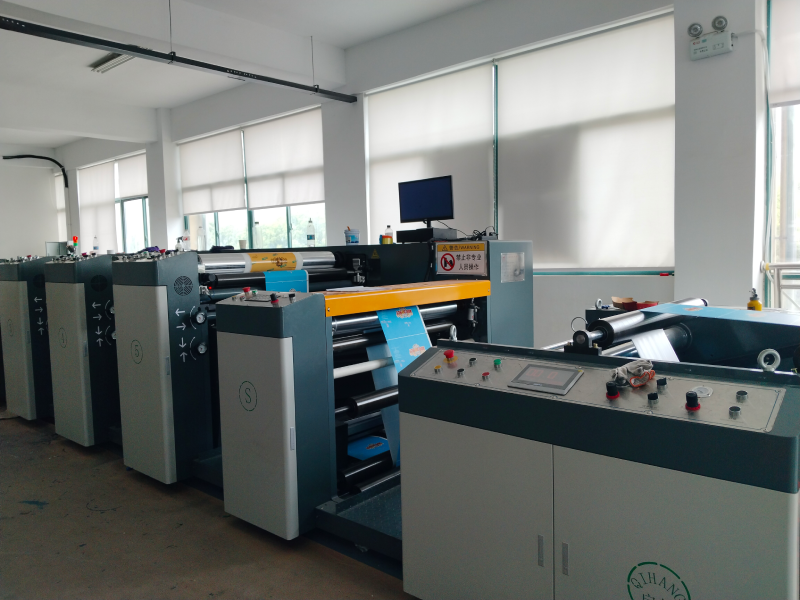
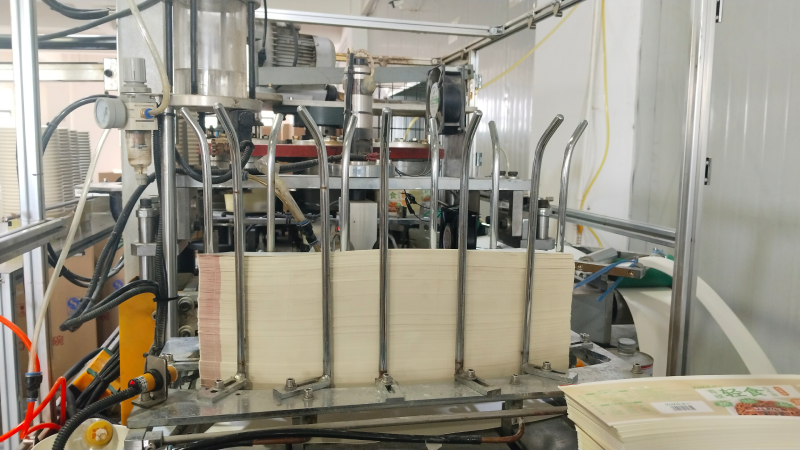
Cup Forming
This is the real show. The fans jump into the forming machine, where they’re wrapped into a cylinder. The machine curls the rim on top (that’s the part your lip touches). Heat sealing fuses the edges. When done right, the seam is tight and invisible. When done wrong… let’s just say you’ll hear about it.
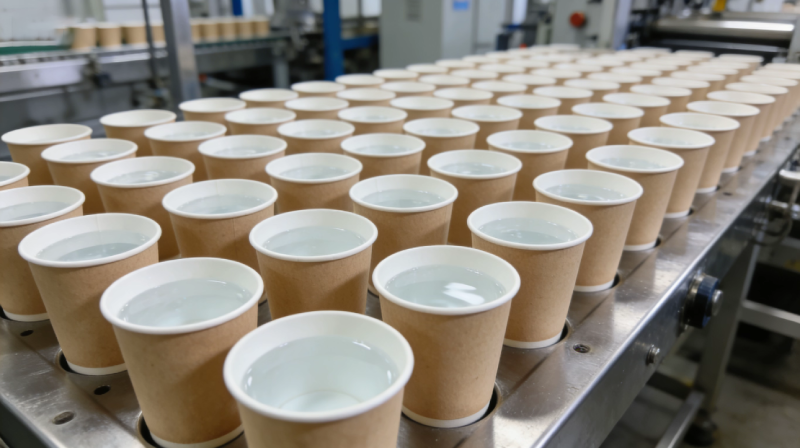
Bottom Insertion & Sealing
The bottom is punched separately. The machine inserts it, and hot air seals it to the body. We run every batch through a leak test. Watching hundreds of cups fill with water at once? Extremely satisfying. Failure rate too high? I stop the line immediately. My workers know this is my obsession.
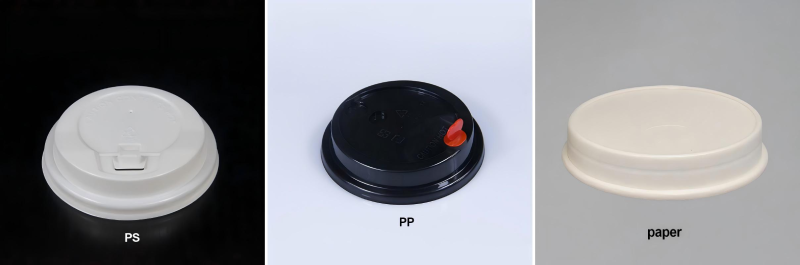
Lid Production
Many buyers forget lids. We produce PS, PP, and Paper. Matching lids to the exact cup size is essential. A loose lid leads to spilled coffee and spilled coffee leads to spilled profits.
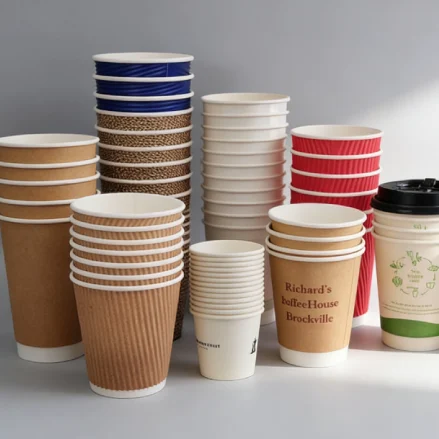
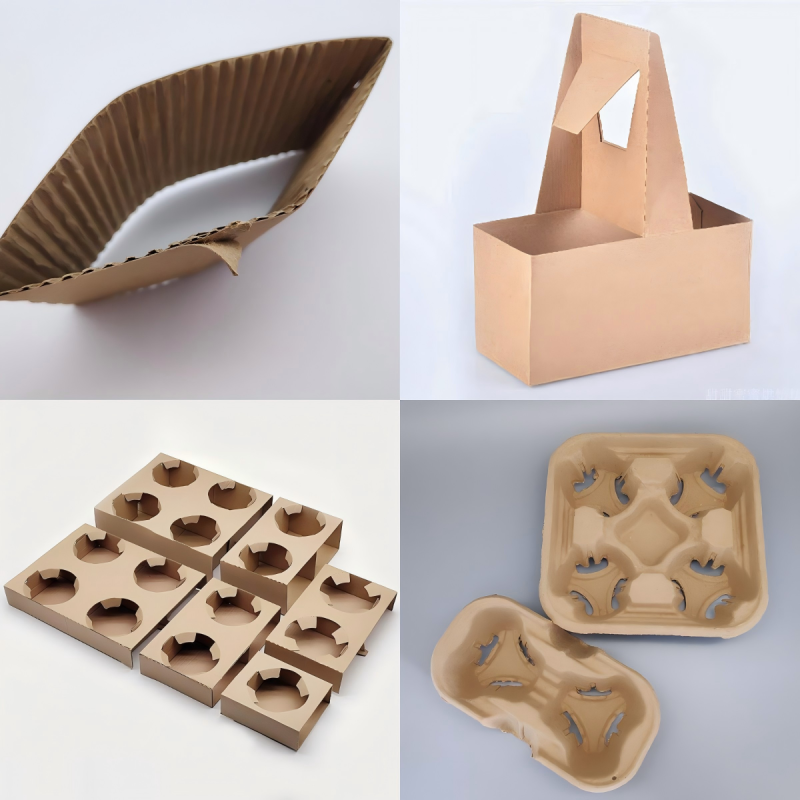
Sleeves & Carriers
Ripple sleeves, corrugated sleeves, cup carriers — these give customers grip and insulation. They also make your brand look premium. A good sleeve hugs the cup tightly. Too loose and it slides off like a sock that’s given up on life.
Quality Control
We check weight, tightness, seam strength, print alignment, leak resistance, smell, even how the cup sits on a flat table. Uneven cups wobble. And wobbling cups annoy people more than you’d expect.
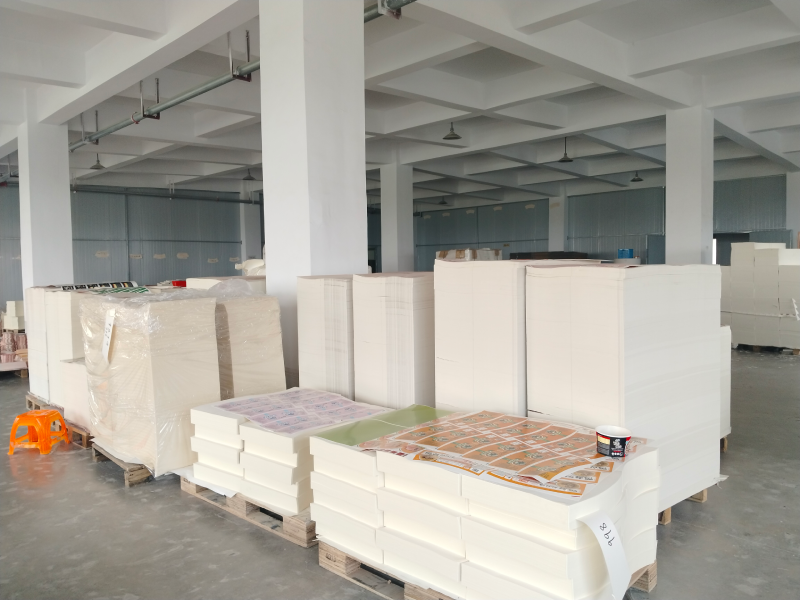
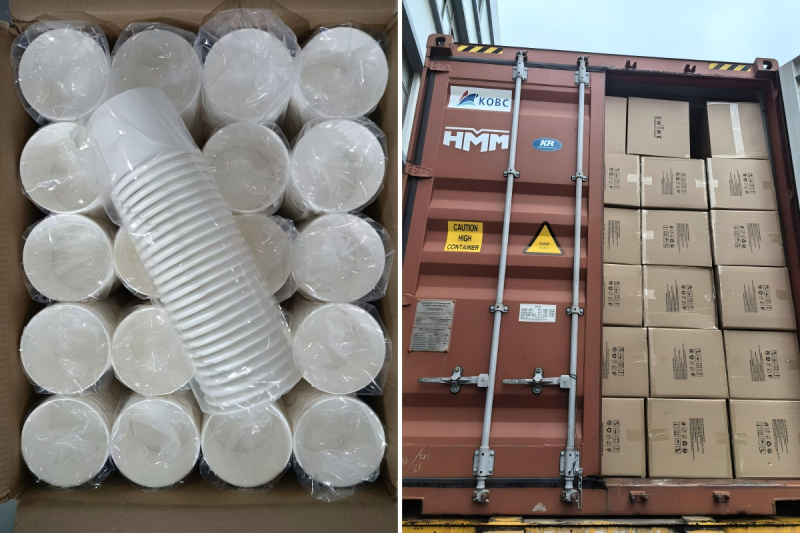
Packaging & Logistics
We pack cups in poly bags, stack them in master cartons, and palletize everything for export. I ship mainly to the USA and Europe, so packaging has to survive long sea voyages. Nothing hurts more than hearing “Cups arrived crushed.” That’s why I over-protect everything.
Technical Tips for Buyers
MOQ & Tooling
The more colors you print, the higher the MOQ. If you want Pantone-exact color, expect plate fees. Please don’t be shocked — printing plates don’t magically appear from thin air.
Artwork Guidelines
Use vector files. Leave bleed. Keep text safe. And for the love of your logo, do not send screenshots from your phone.
Pre-Shipment Inspection
A simple AQL inspection saves you headaches. Check leakage, printing, and packaging. I welcome inspections — good factories do.
Topic-Related Questions
(Here are questions many buyers ask when exploring the manufacturing process.)
Why do some cups leak even though they look fine?
Sometimes the seam is weak. Sometimes the coating is uneven. Sometimes bottom sealing temperature is wrong. Micro-defects = macro-problems.
What’s the difference between PE and PLA?
PE is classic, cheap, strong. PLA is compostable, has higher cost, and needs industrial composting to break down. Both work. Your choice depends on market positioning.
Can recycled paper be used safely in cups?
Not for direct contact with hot beverages. For food-safe cups, we use virgin paper. Safety first, always.
How long does tooling & production take?
Normally 15–25 days. Printing plates add 3–5 days. Shipping depends on where you are.
How do I check print color consistency?
Ask for a digital proof. Then request production samples. During mass production, we use color densitometers to stay within tolerance.
What about shipping cost?
Volume, not weight, drives cost. Cups are “big and light.” So optimizing carton size is key.
Pricing & Cost Drivers
Price depends on base paper cost, coating type, print complexity, lid options, and logistics. If someone quotes a price that feels “too good,” assume something is missing — usually quality.
Sustainability Notes
Compostable cups are great. But remember: industrial composting is required. Don’t let marketing hype confuse you. I’ll gladly help you choose the option that matches your market reality.
Conclusion
Paper cups are simple in your hand but complex behind the scenes. Now you know exactly what happens at my factory before your coffee cup ever reaches your customer. If you need samples or want to customize your brand’s cups, just email me at [email protected]. I’ll take care of you.

.webp)